
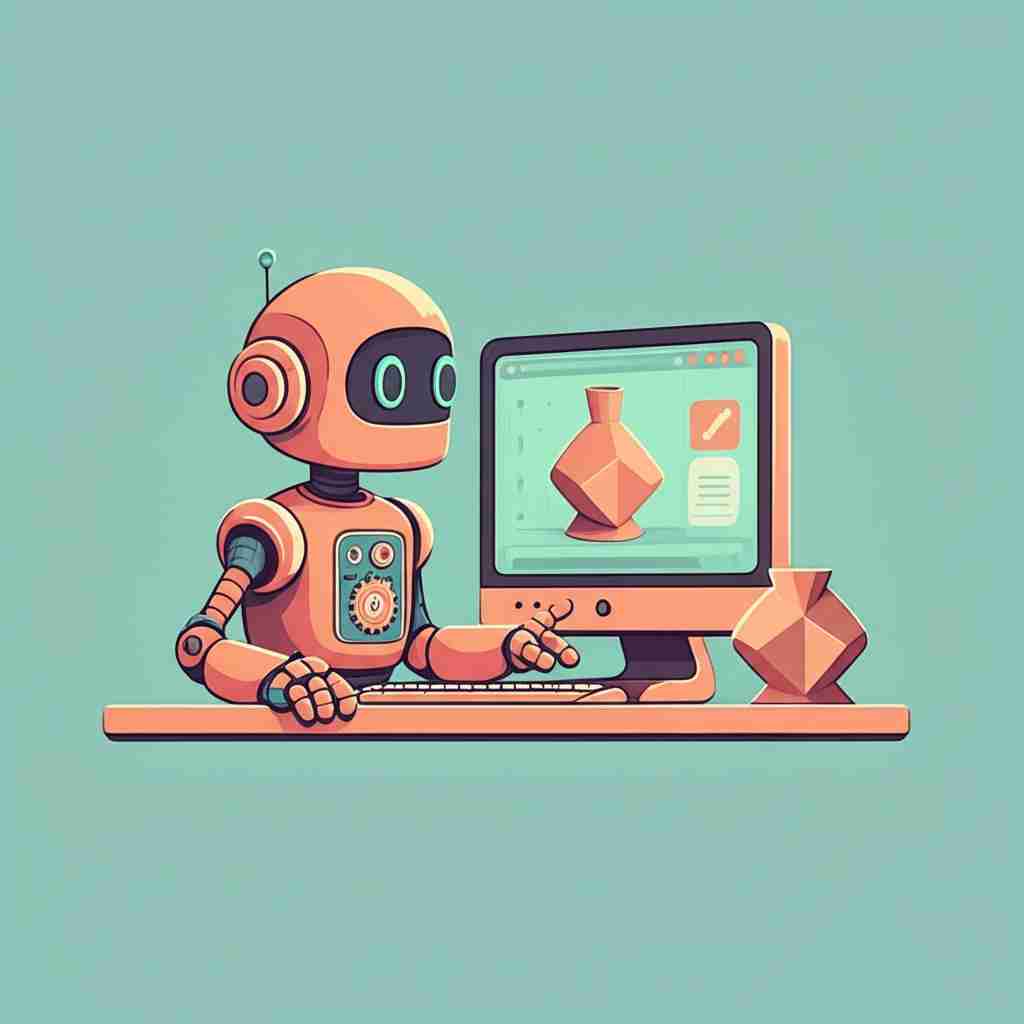
Step-by-Step: How to Use AI 3D Model Generators for 3D Printing
Advances in artificial intelligence are rapidly transforming the world of design and manufacturing. Nowhere is this more evident than in the field of 3D printing, where AI-powered 3D model generators are making it possible for anyone—from hobbyists to professionals—to create complex, printable models from simple images or prompts. This detailed guide will walk you through how AI 3D model generation works, how to use these tools effectively, and what to expect from the process. Whether you’re a maker, an artist, or simply curious about the technology, you’ll learn practical insights for bringing your ideas to life.
1. Understanding AI 3D Model Generators: The Basics
At its core, AI 3D model generation utilizes machine learning models trained on millions of image-3D pair datasets. These AI tools can “imagine” what an object might look like in three dimensions just from a single image or a text description. The process is not unlike what a skilled sculptor does—using observation and experience to fill in gaps when only presented with a limited view.
- Single Image to 3D Mesh: Most AI generators work by analyzing a 2D image, identifying patterns and shapes, and reconstructing a plausible 3D surface and volume.
- Multiple Image Input: Some advanced models allow you to upload several angles of the same object, improving accuracy by reducing guesswork for the AI.
- Prompt-Based Generation: Tools often give you a choice between uploading images and writing descriptive text prompts. Both methods have their unique benefits, but image prompts generally yield more predictable results.
Popular AI 3D model generators, as tested in the provided walkthrough, include:
- Trellis (Microsoft-backed): Known for its simplicity, although it can lose detail and encounter errors more frequently.
- Hunwan 3D (Tencent-backed): Excels in generating detailed models from a single picture, with relatively minor errors.
- Roden (Hyper 3D): A paid platform capable of using multiple images, producing accurate geometry but sometimes overly optimized (resulting in visible polygons on prints).
2. Preparing Your Inputs for AI 3D Model Generation
Success with AI 3D model generators often hinges on the quality and clarity of your input—whether it’s an image or a set of images taken from different angles.
- Choose or Create a Clear Input Image: The AI’s output is only as good as the input. High contrast, uncluttered photos or generated images work best.
- Remove Backgrounds for Precision: Most tools offer background removal, but manual removal (e.g., in Photoshop) is recommended. Automated background removal can leave artifacts that confuse the AI.
- Use Multiple Perspectives if Available: If your tool supports it (like Roden does), provide front, side, and back images. This leads to a more accurate, detailed mesh.
- Edit Your Image as Needed: Manually fixing issues, such as painting a flat base or closing open parts, leads to better model integrity. Tweaking the image is often faster than regenerating from scratch.
These preparation steps ensure the AI model receives clear, useful data, minimizing errors in the resulting 3D mesh and reducing the need for post-generation cleanup.
3. Step-by-Step Workflow: From Image to Printable 3D Model
Turning a concept into a 3D print-ready model using AI involves several distinct stages. Based on the documented testing, here’s how to proceed:
- Prepare Your Input: Remove backgrounds, adjust contrast, and crop the image for your desired subject. For multi-view models, compile clear images from each angle.
- Upload to AI Model Generator: Select your platform (Trellis, Hunwan 3D, or Roden). Upload your image(s) or enter your text prompt.
- Generate Preview: The AI analyzes your input and produces a 3D mesh preview, usually within 30 seconds. Review the raw geometry for suitability.
- Refine (if needed): Minor errors—or unexpected hollows/openings—can often be fixed by editing your image and re-uploading, instead of manual mesh work later.
- Download 3D Mesh: Export the file, typically in a .OBJ or .STL format. Some platforms let you simplify the geometry before download.
- Post-Process (Optional): Clean up the mesh in a 3D editing program (like Blender) if necessary. This is rarely needed for simple objects, as most meshes require minimal cleanup.
- Prepare for 3D Printing: Import your mesh into slicing software (e.g., Cura, PrusaSlicer), add supports if necessary, and choose your print settings.
- Print and Finish: Send the file to your 3D printer, remove supports after printing, and perform any final finishing steps to achieve the desired look.
This workflow can take a matter of hours rather than days, putting complex prototyping and artistic creation within virtually anyone’s reach.
4. Evaluating Model Quality, Practical Tips, and Evidence from Research
Different AI tools may produce varying results even from the same image. Here’s a summary of observed outcomes and practical tips, informed both by hands-on experience and current research:
- Mesh Detail and Cleanliness: Hunwan 3D tends to provide higher detail, while Roden excels at geometry clean-up but may “overoptimize,” leaving polygonal artifacts visible in prints.
- Trial-and-Error Is Normal: Small issues, such as unwanted holes or base shapes, are usually resolved by editing input images, not by reprocessing the same file repeatedly.
- Minimal Cleanup Required: Most AI-generated meshes need little post-processing, especially when input images are carefully prepared.
- Printing Materials Matter: Resin prints tend to show off details better than standard filament, but require additional support management.
- Choose the Right Tool for Your Needs: If you need intricate detail from a single image, Hunwan 3D is a strong choice. If you have multiple angles, Roden can deliver top accuracy at the cost of potential simplification.
A study conducted at 3Dnatives and published in their featured article, Step-by-Step: How to Use AI 3D Model Generators for 3D Printing, confirms these findings. The research outlines that AI-driven workflows for 3D modeling and printing minimize learning curves, significantly reduce creation time, and lower the technical barriers that prevented broader participation in the past. They highlight how the iterative image-edit/regenerate cycle, combined with the capability of using multi-view inputs, results in more accurate and print-ready shapes—validating the hands-on experience detailed above. The study emphasizes that these advancements enable more makers and designers to leverage 3D printing’s full creative potential, with applications spanning from rapid prototyping to artistic exploration.
5. Ethical Considerations, Future Trends, and Getting Started
While AI 3D model generators unlock tremendous creative freedom, they also raise important ethical questions, particularly concerning style copying and fair use of existing works. Here are some key points every creator should keep in mind:
- AI Learns Like Humans: These models are not “copying” individual images; they learn broad patterns (e.g., how a dog’s body curves) by analyzing vast datasets, generating new interpretations rather than direct replicas.
- Style vs. Content: AI can mimic artistic styles (like watercolor or pixel art), but styles themselves are generally not copyright-protected. However, direct copying of specific, recognizable works or using datasets of living artists without permission raises concerns.
- Responsible Use: Creators should be mindful of the source material and respect both the spirit and letter of copyright law when sharing or commercializing AI-generated 3D models.
- Acceleration of Creativity: As the technology improves weekly—not yearly—it’s essential for artists, designers, and makers to become familiar with these tools to maintain a competitive and creative edge.
Getting started is easier than ever:
- Choose an AI 3D model generator platform that best fits your needs.
- Experiment with both image and text prompts to understand how each impacts the resulting mesh.
- Practice preparing and editing input images for ideal results.
- Join online communities (forums, Discords, maker sites) to learn tips, share models, and get feedback on your creations.
Conclusion
AI-driven 3D model generators are rapidly changing how creators approach 3D printing. With the ability to convert simple images or ideas into detailed, printable models in mere hours, the possibilities for innovation and self-expression have never been greater. While challenges remain—both technical and ethical—mastering these tools now will keep you ahead in an evolving creative landscape. Whether for rapid prototyping, game design, or personal art, leveraging AI in your 3D printing workflow can help turn inspiration into reality more quickly and efficiently than ever before.
About Us
At AI Automation Sydney, we help businesses and creators harness the power of smart AI tools—just like those transforming 3D model generation for printing. Whether you’re streamlining design workflows or exploring new ways to bring ideas to life, our automation solutions make advanced technology accessible, practical, and reliable for everyday innovators.